The Painting Process - Issue Nº 11
In this series, I share the stories behind my paintings, my thought process, and the discoveries I make along the way.
※※※※
BRIDGING GOUACHE AND OIL
Exploring oil painting with a gouache-inspired approach
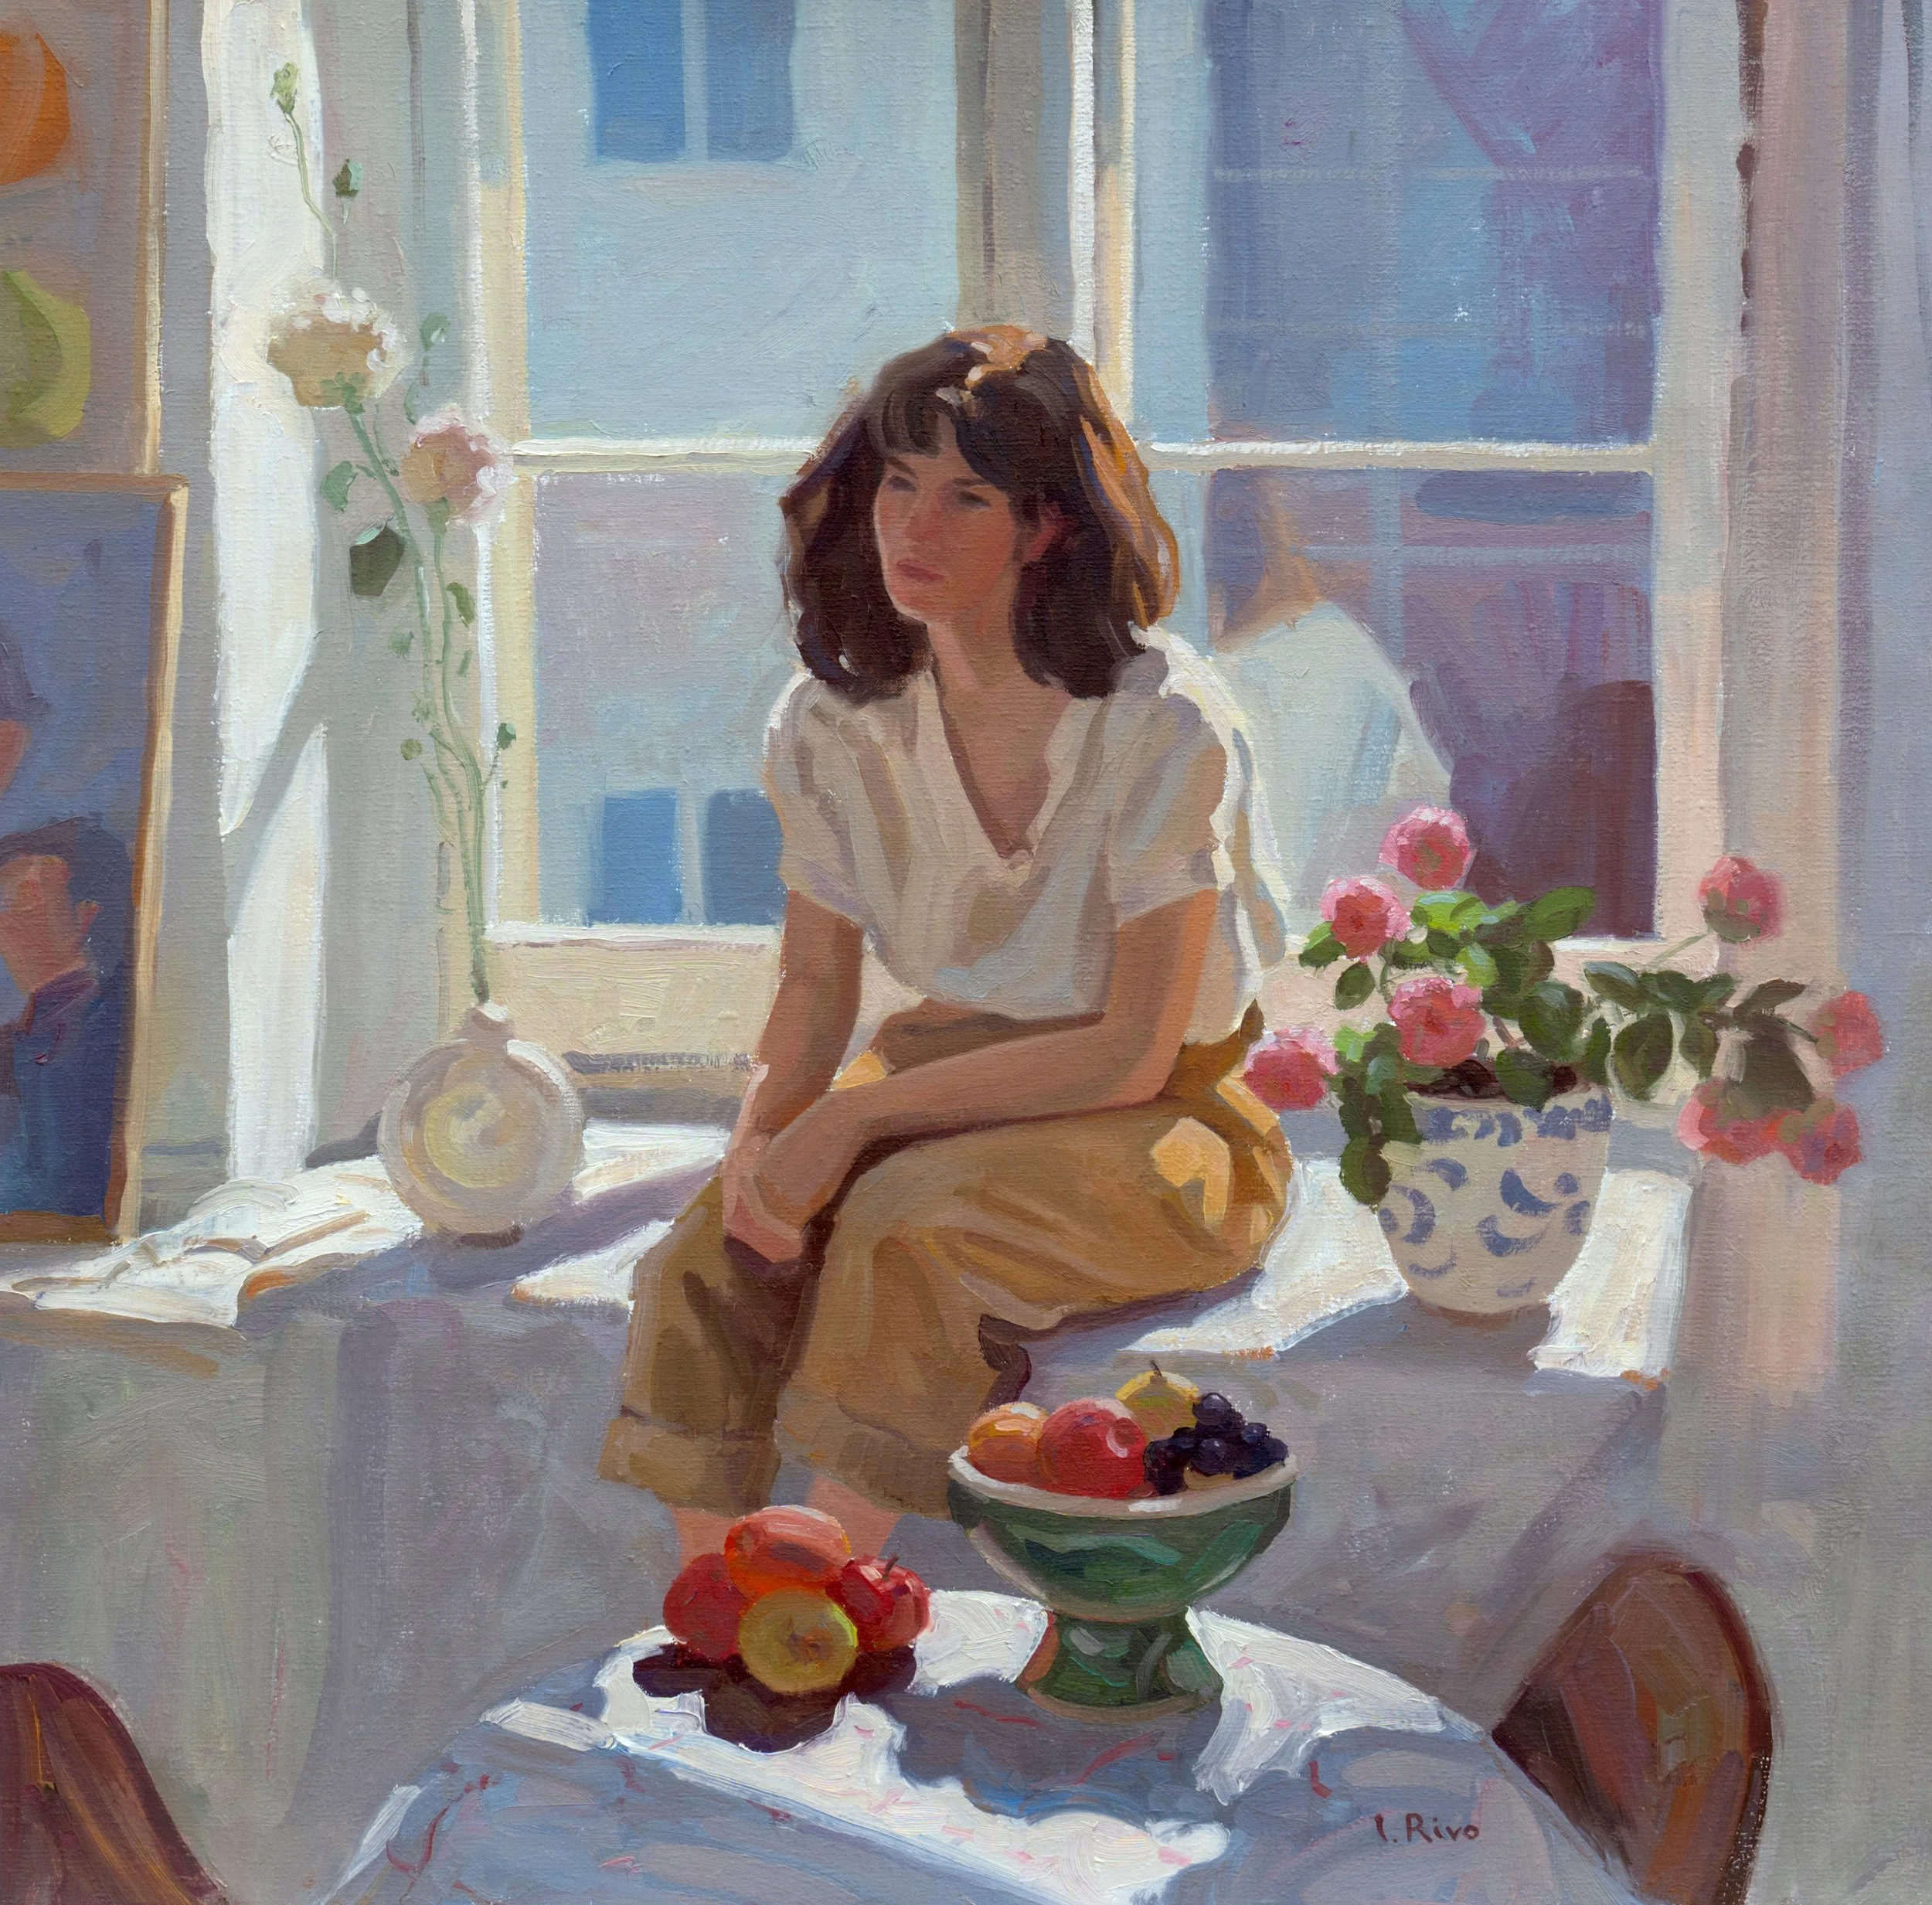
This year, I ventured deeper into figurative art. I began with a few gouache paintings of sunlit figures, which inspired me to challenge myself further by creating larger pieces in oil. The challenge, however, was that I didn’t want to return to the oil painting technique I used before switching to gouache nearly ten years ago—a purely impressionistic style with many brushstrokes.
With gouache, I had developed a technique that made my paintings more concise and impactful, creating a stronger connection with the viewer. My approach to gouache painting can be described as assembling a clear pattern of abstract shapes that come together to form a realistic image, much like a puzzle. Once all the shapes are blocked in with color, the painting looks nearly complete, requiring only a few fine lines and small details to bring it to life. This is a simple and effective painting method that works without the need for underpainting. The key lies in finding the correct value and color relationships between the shapes while keeping the colors solid, with minimal gradation. This preserves the integrity of each shape’s value, allowing only subtle variations in color temperature within them.
Paintings created using this method are visually clear and easy for the viewer’s eye to interpret. The shapes remain clean and descriptive, without unnecessary detail, texture, or gradation. Such works are unified by contrasts—light against dark, gray against saturated hues, and cool against warm tones.
I teach this approach in my Color Mastery course, and many of my students have successfully applied it to oil painting. However, some students feel intimidated by the idea of working with oil and aren’t confident about transferring the technique they’ve mastered with gouache to oil. If that sounds like you, I hope this article will provide some helpful insights.
When I decided to return to oil painting this year, I wanted to approach it differently. I didn’t want to follow the traditional “fat over lean” technique, which starts with thinned oil paint and builds up to thicker layers. Instead, I aimed to use oil paint in the same way I use gouache—avoiding solvents and skipping the underpainting entirely.
This was my first oil painting created using the technique I developed for gouache.
I started with the figure—the main focal point of the painting—and worked outward, completing each shape fully before moving on to the next. In the end, I added only a few highlights and accents, and the painting was complete. I finished it in just two sessions.
This method turned out to be very effective, and I could clearly see the qualities of my gouache technique reflected in this piece—just as I had hoped.
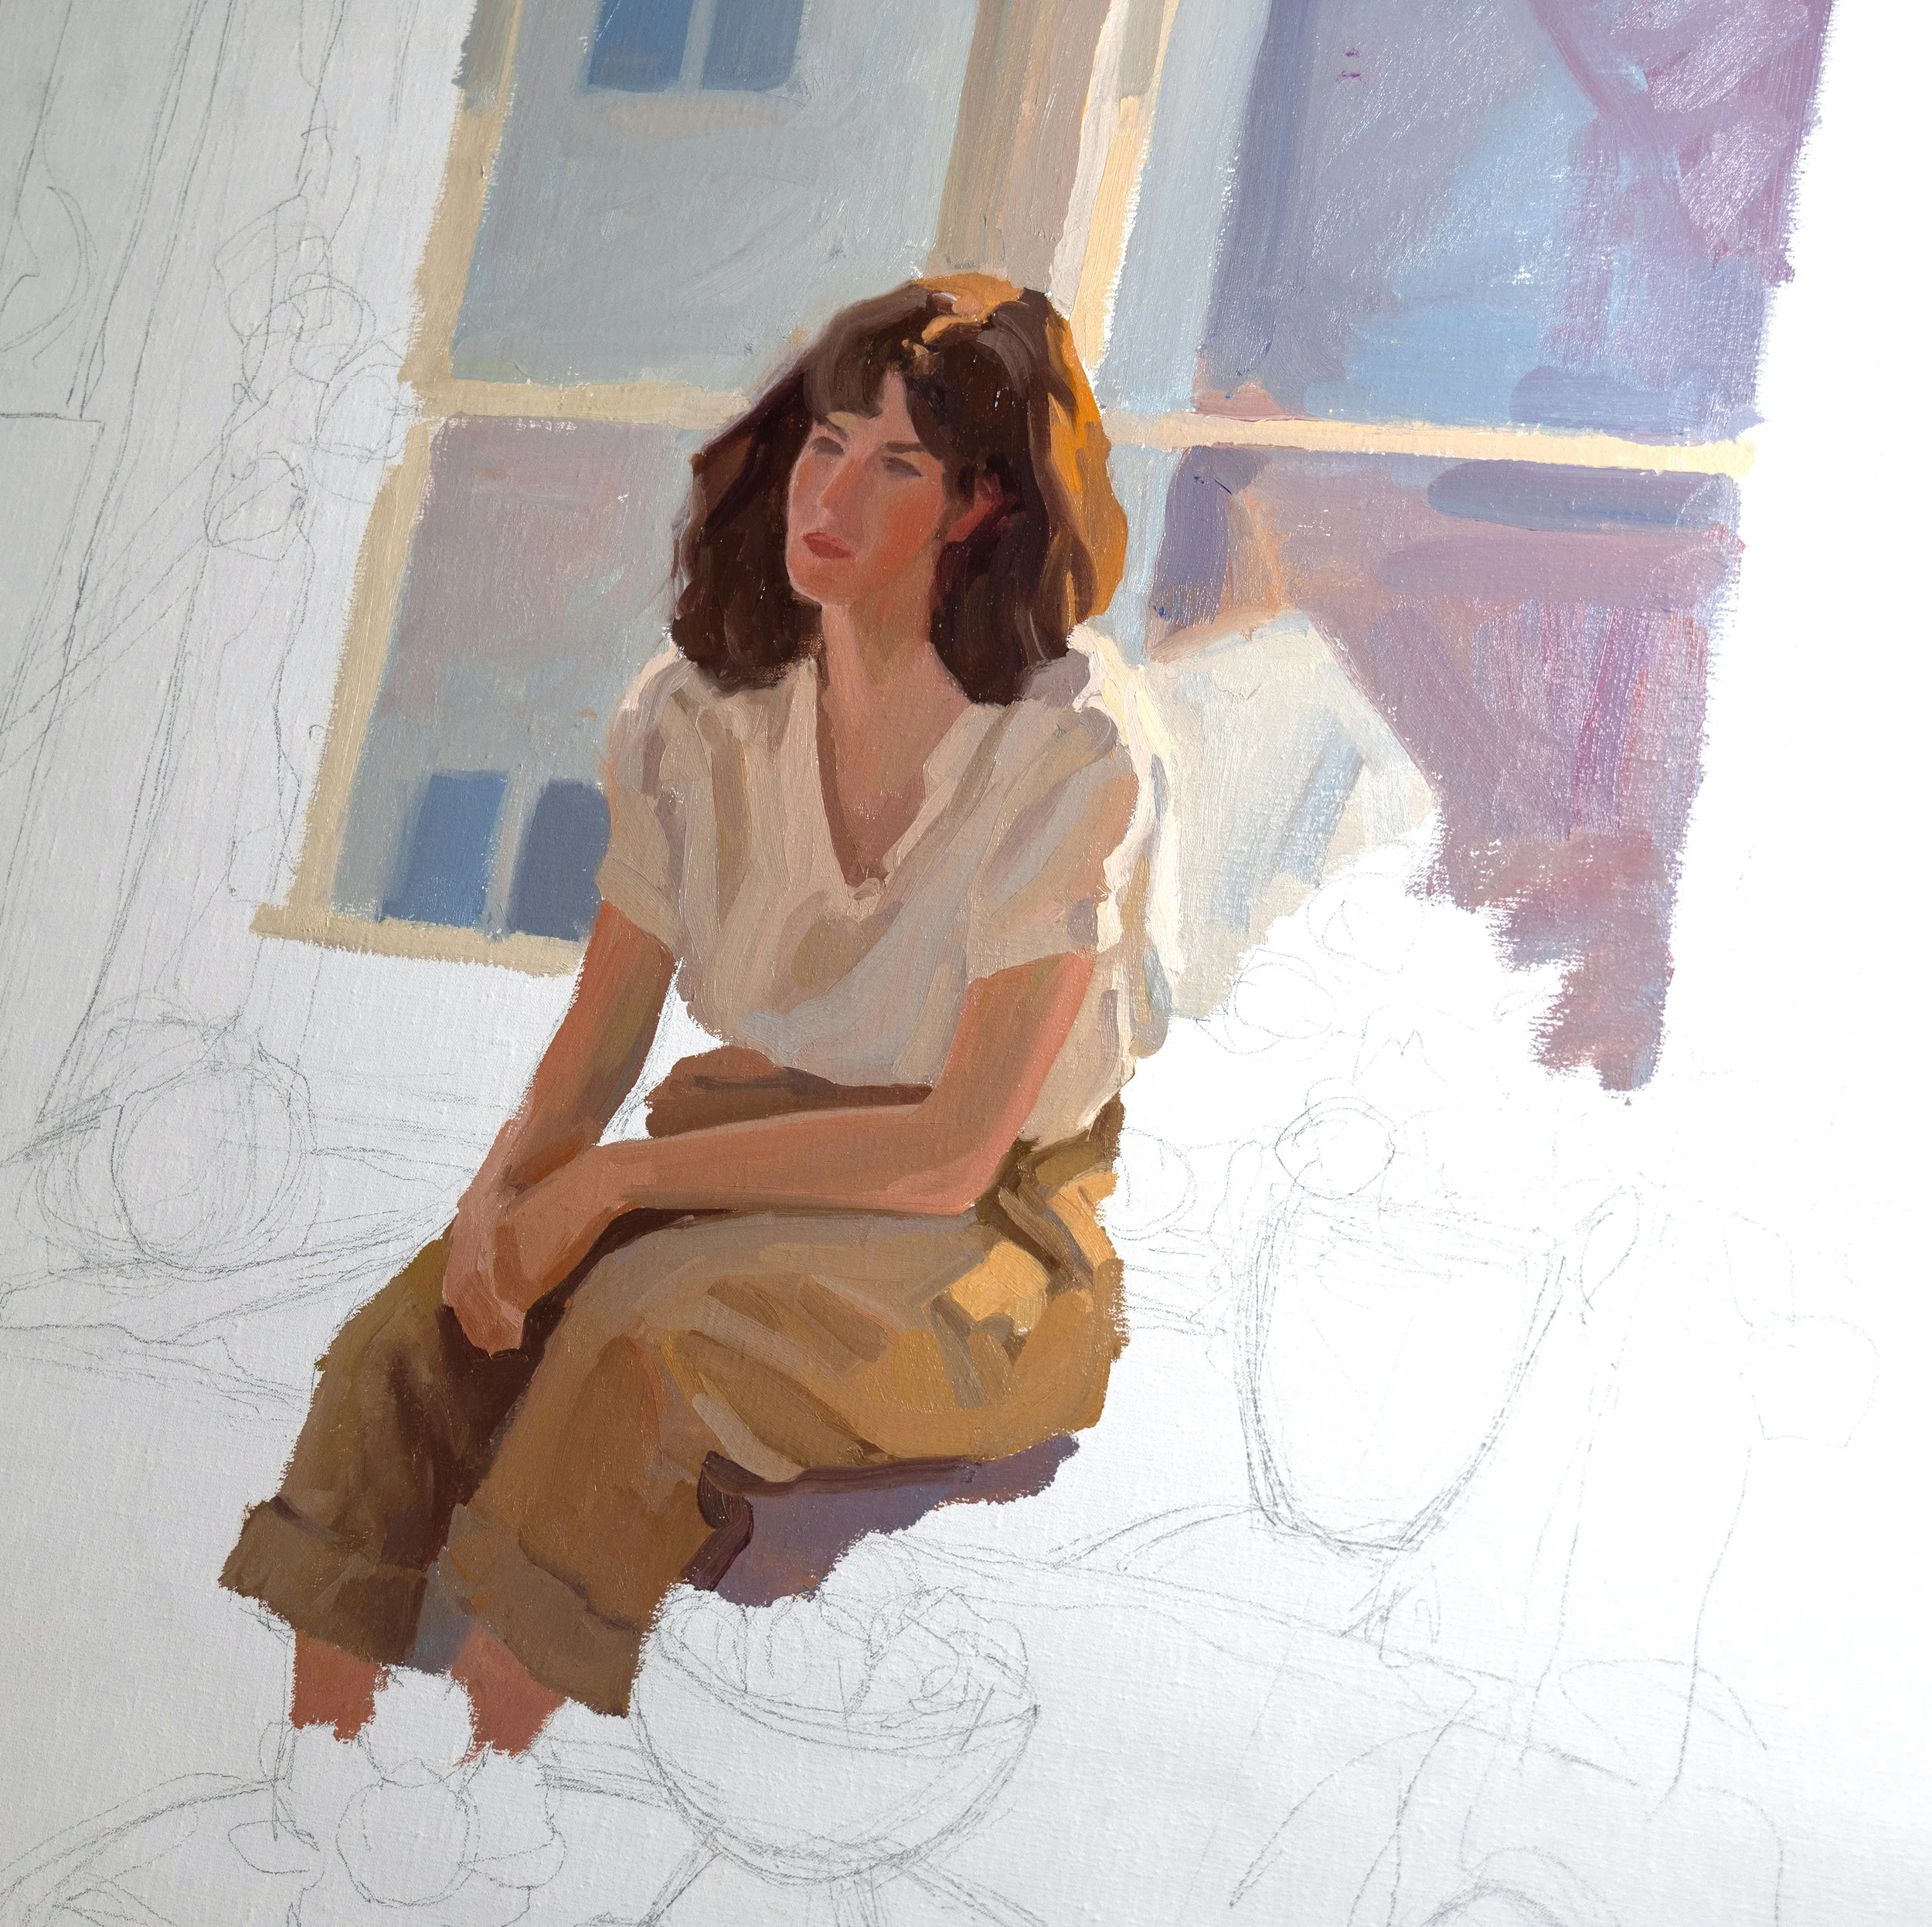
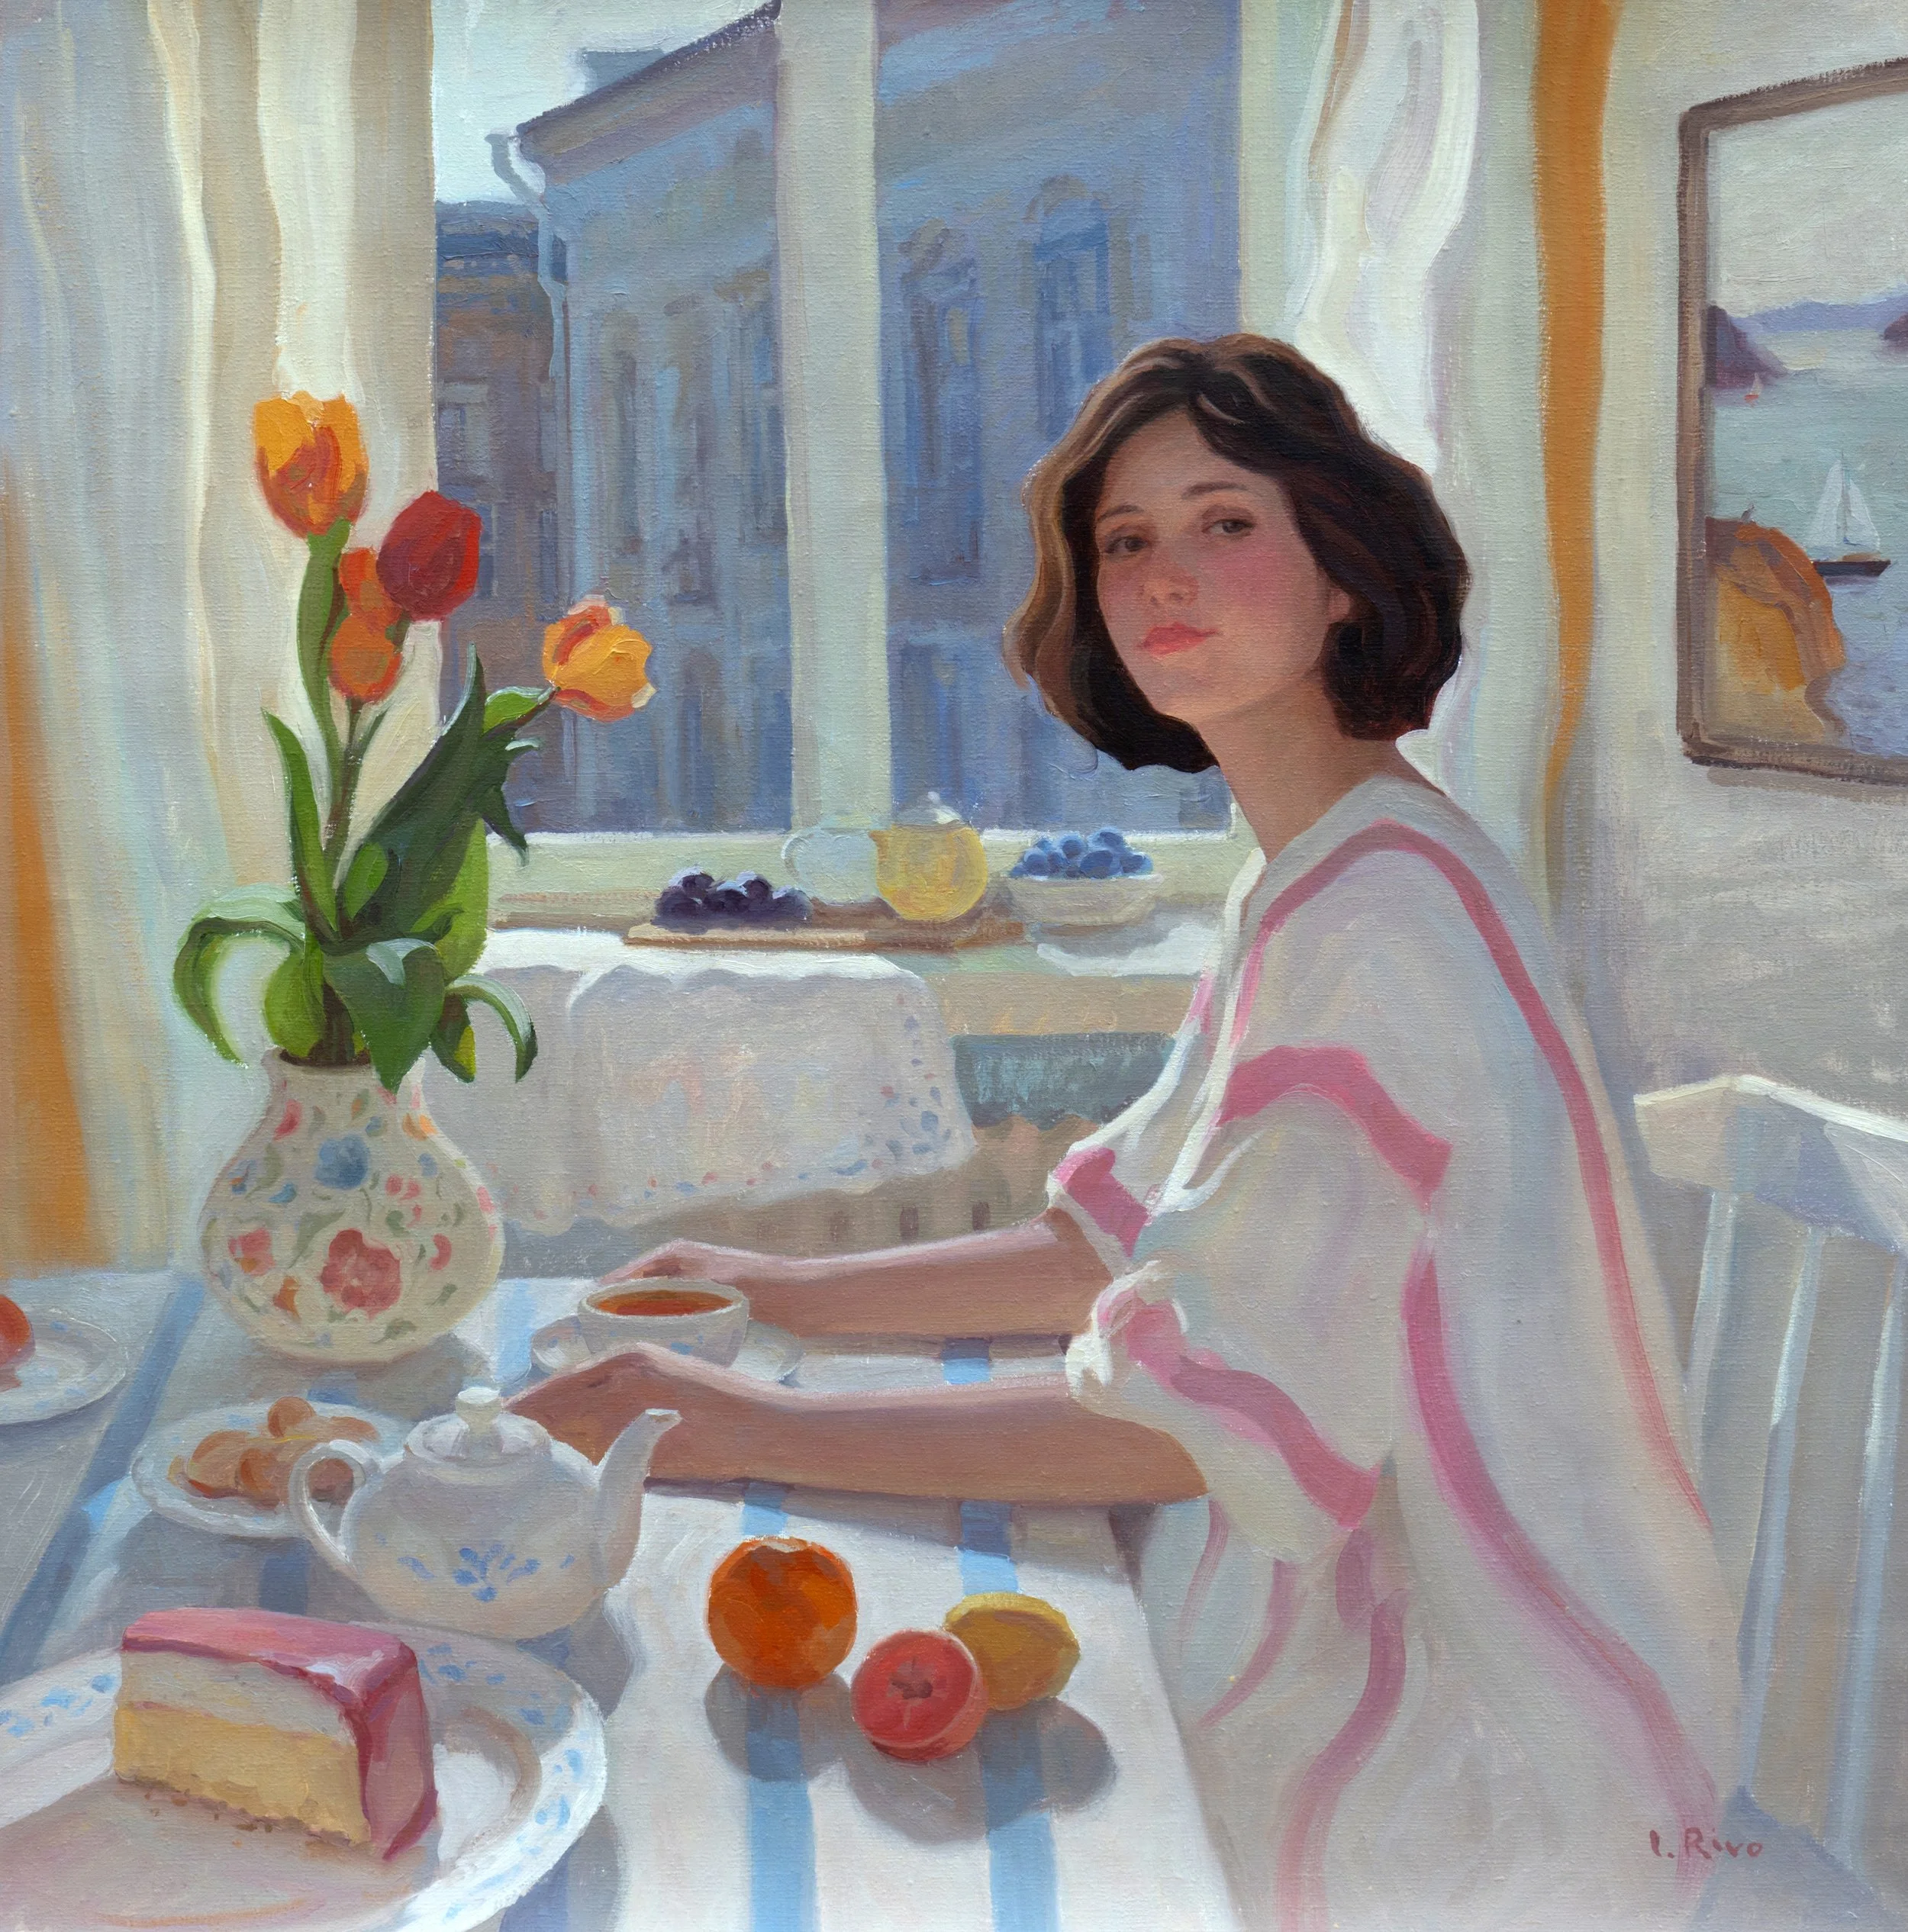
After finishing this painting, I jumped straight into a new one—an idea I had been contemplating and developing for quite some time.
I started this one with the girl’s face, and once I was satisfied with it, I moved on to the adjacent areas, completing each as fully as possible before continuing.
In this painting, I used Winsor & Newton’s painting medium in only two areas—the wall behind the girl and her dress. The medium helped me spread the paint more smoothly over these larger sections. The rest of the painting was completed using oil paint straight from the tubes, without any dilution.
With these two figurative paintings, my goal was to create clear, solid color shapes without texture, resembling the shapes typically achieved with gouache.
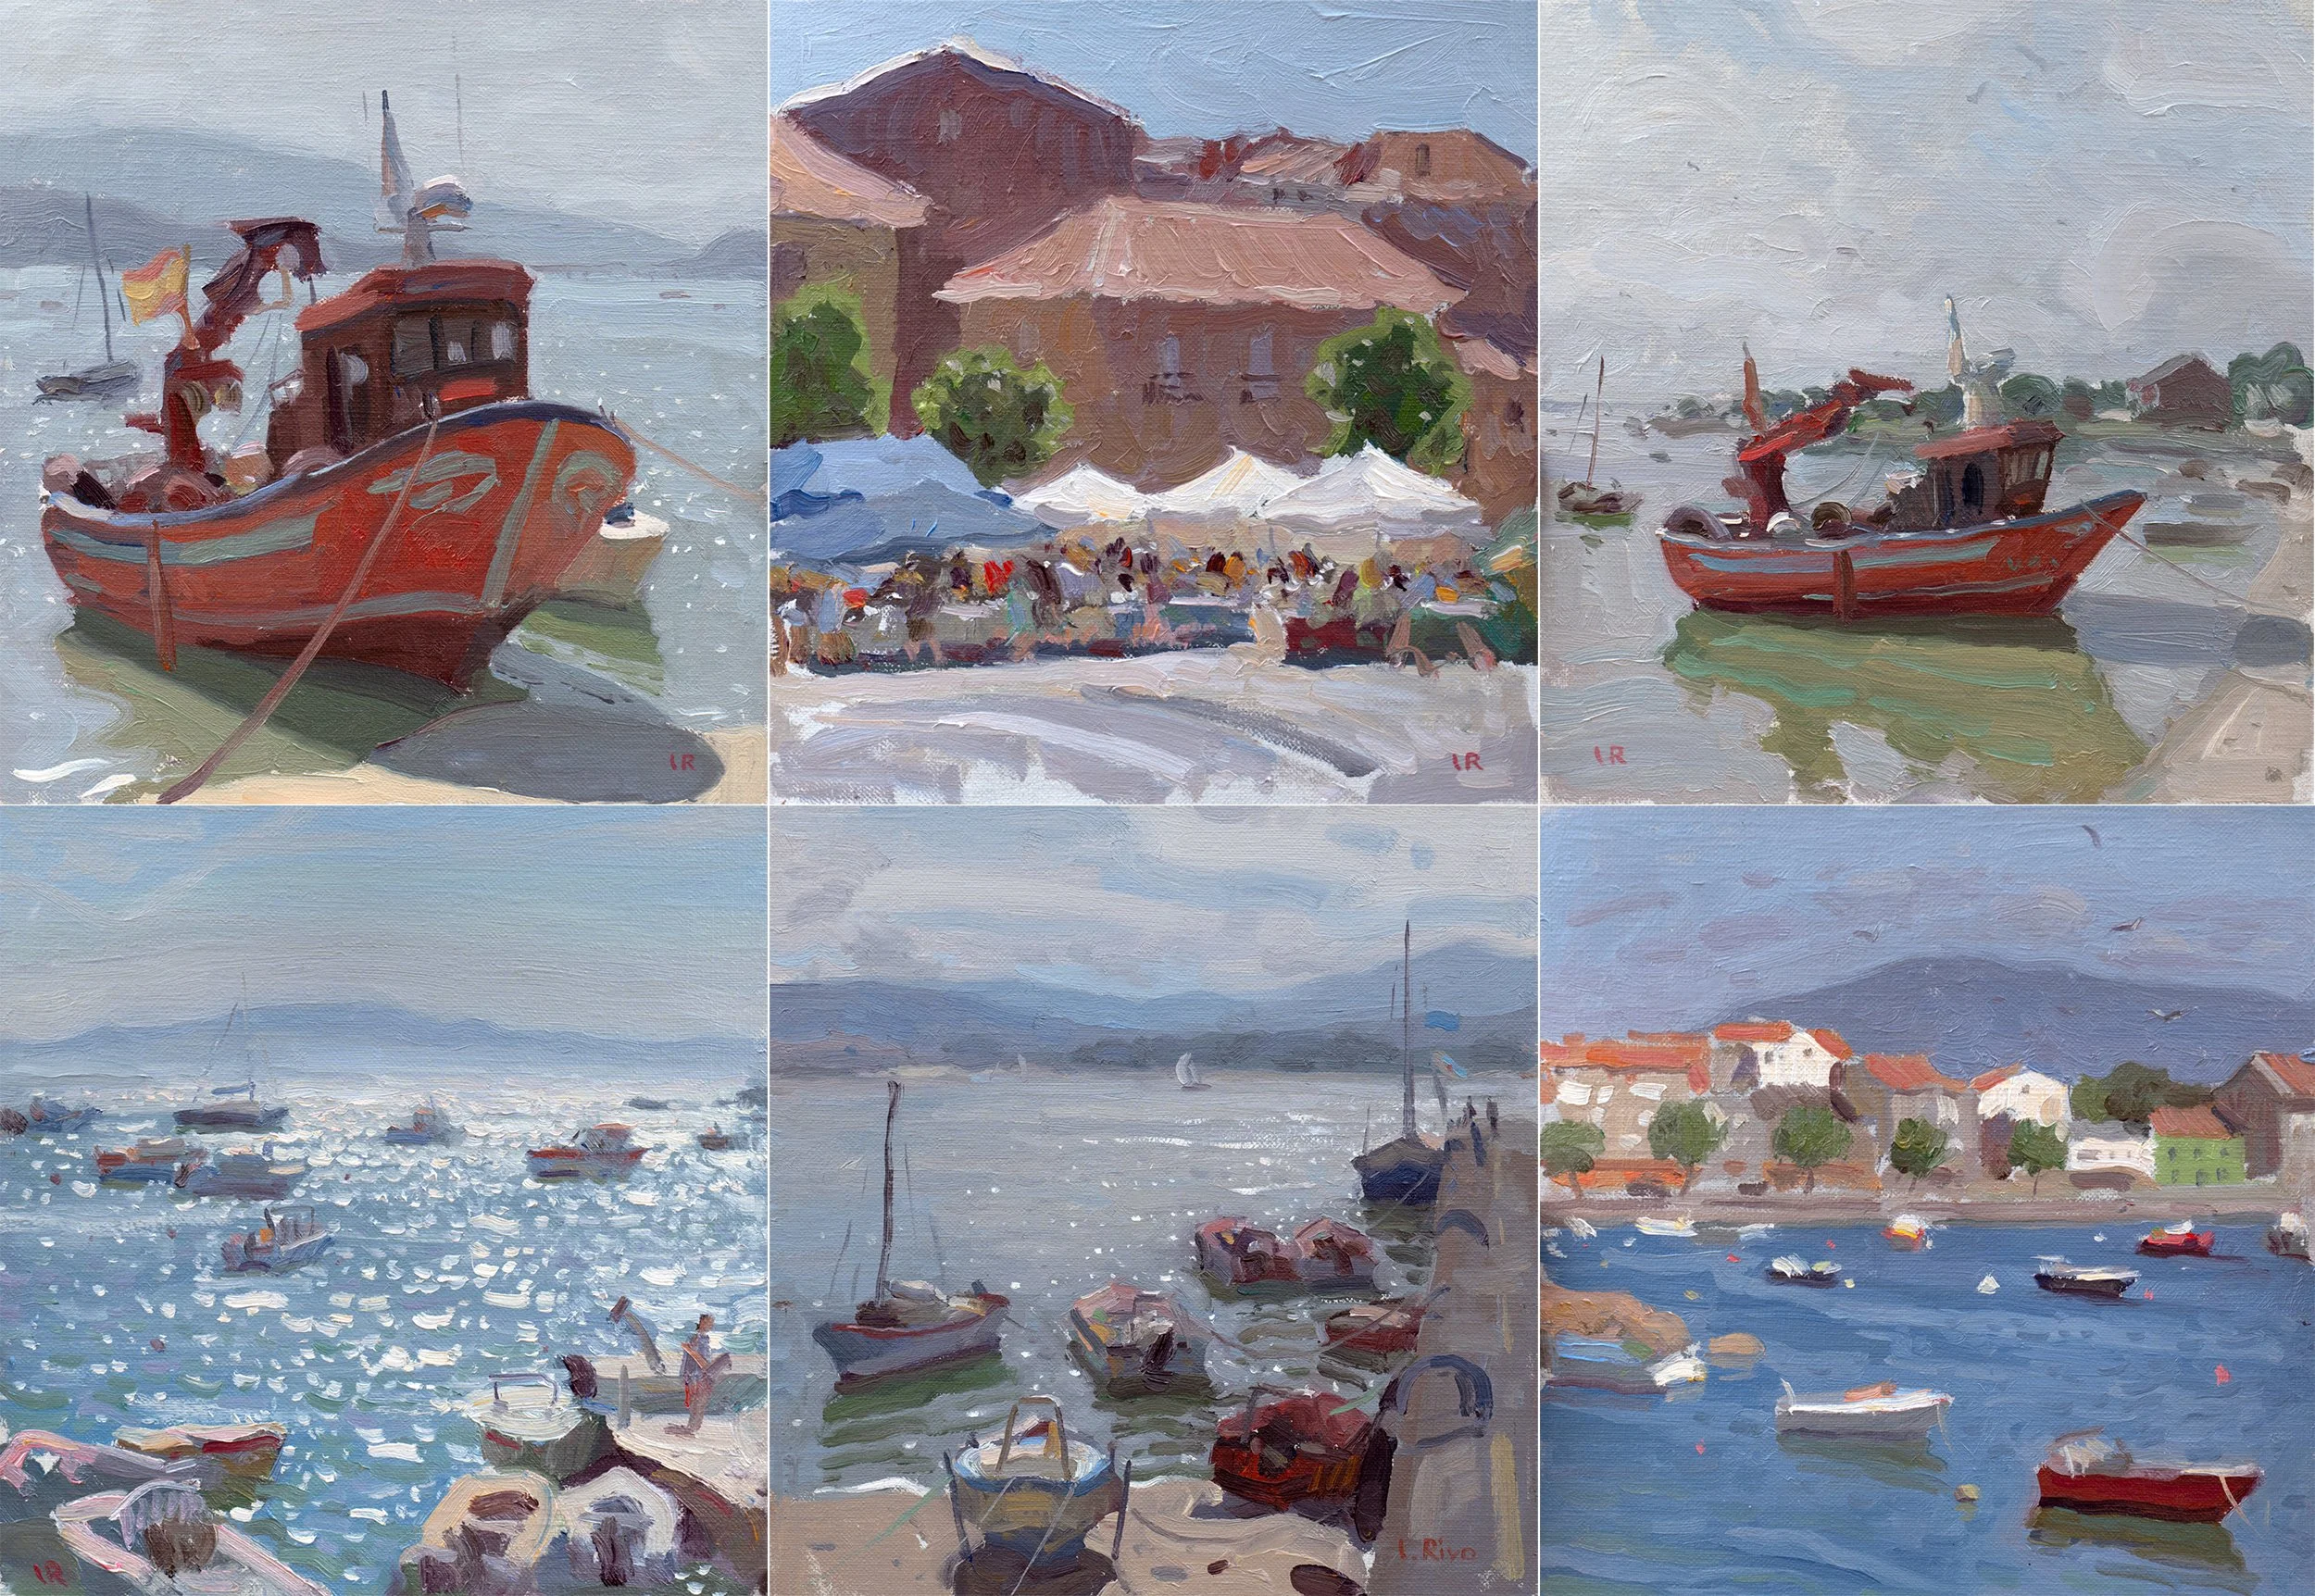
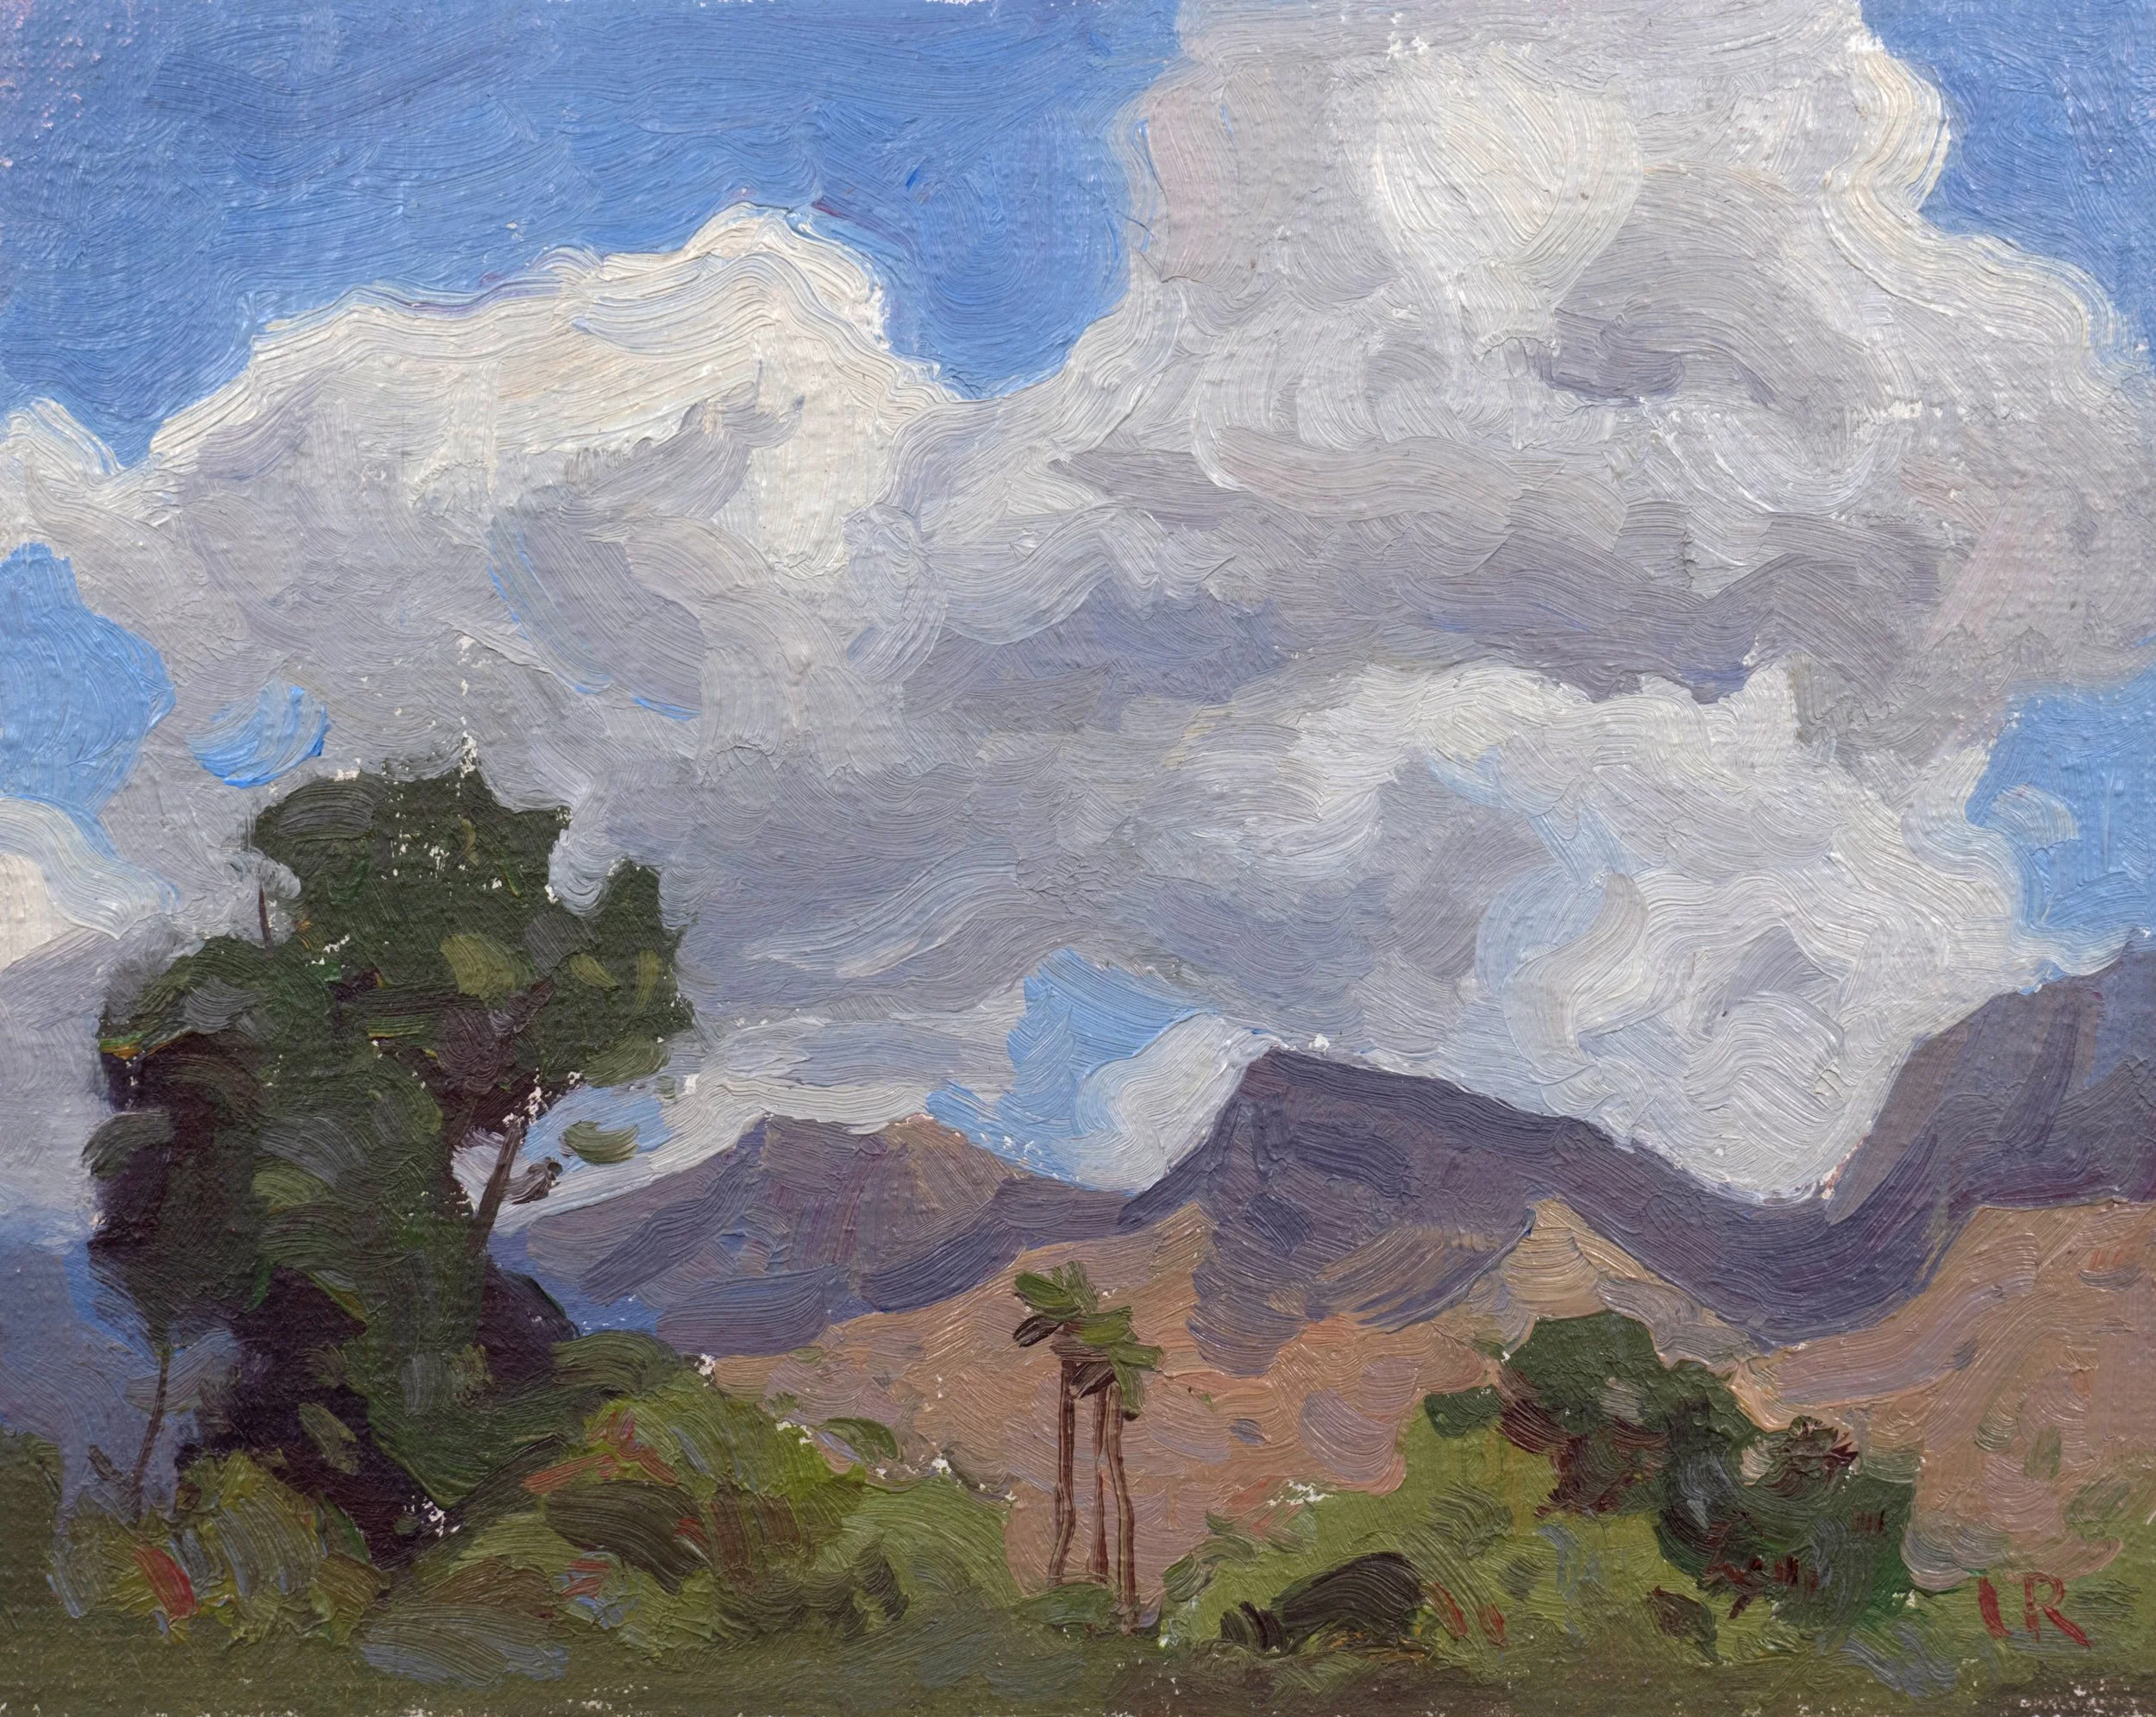
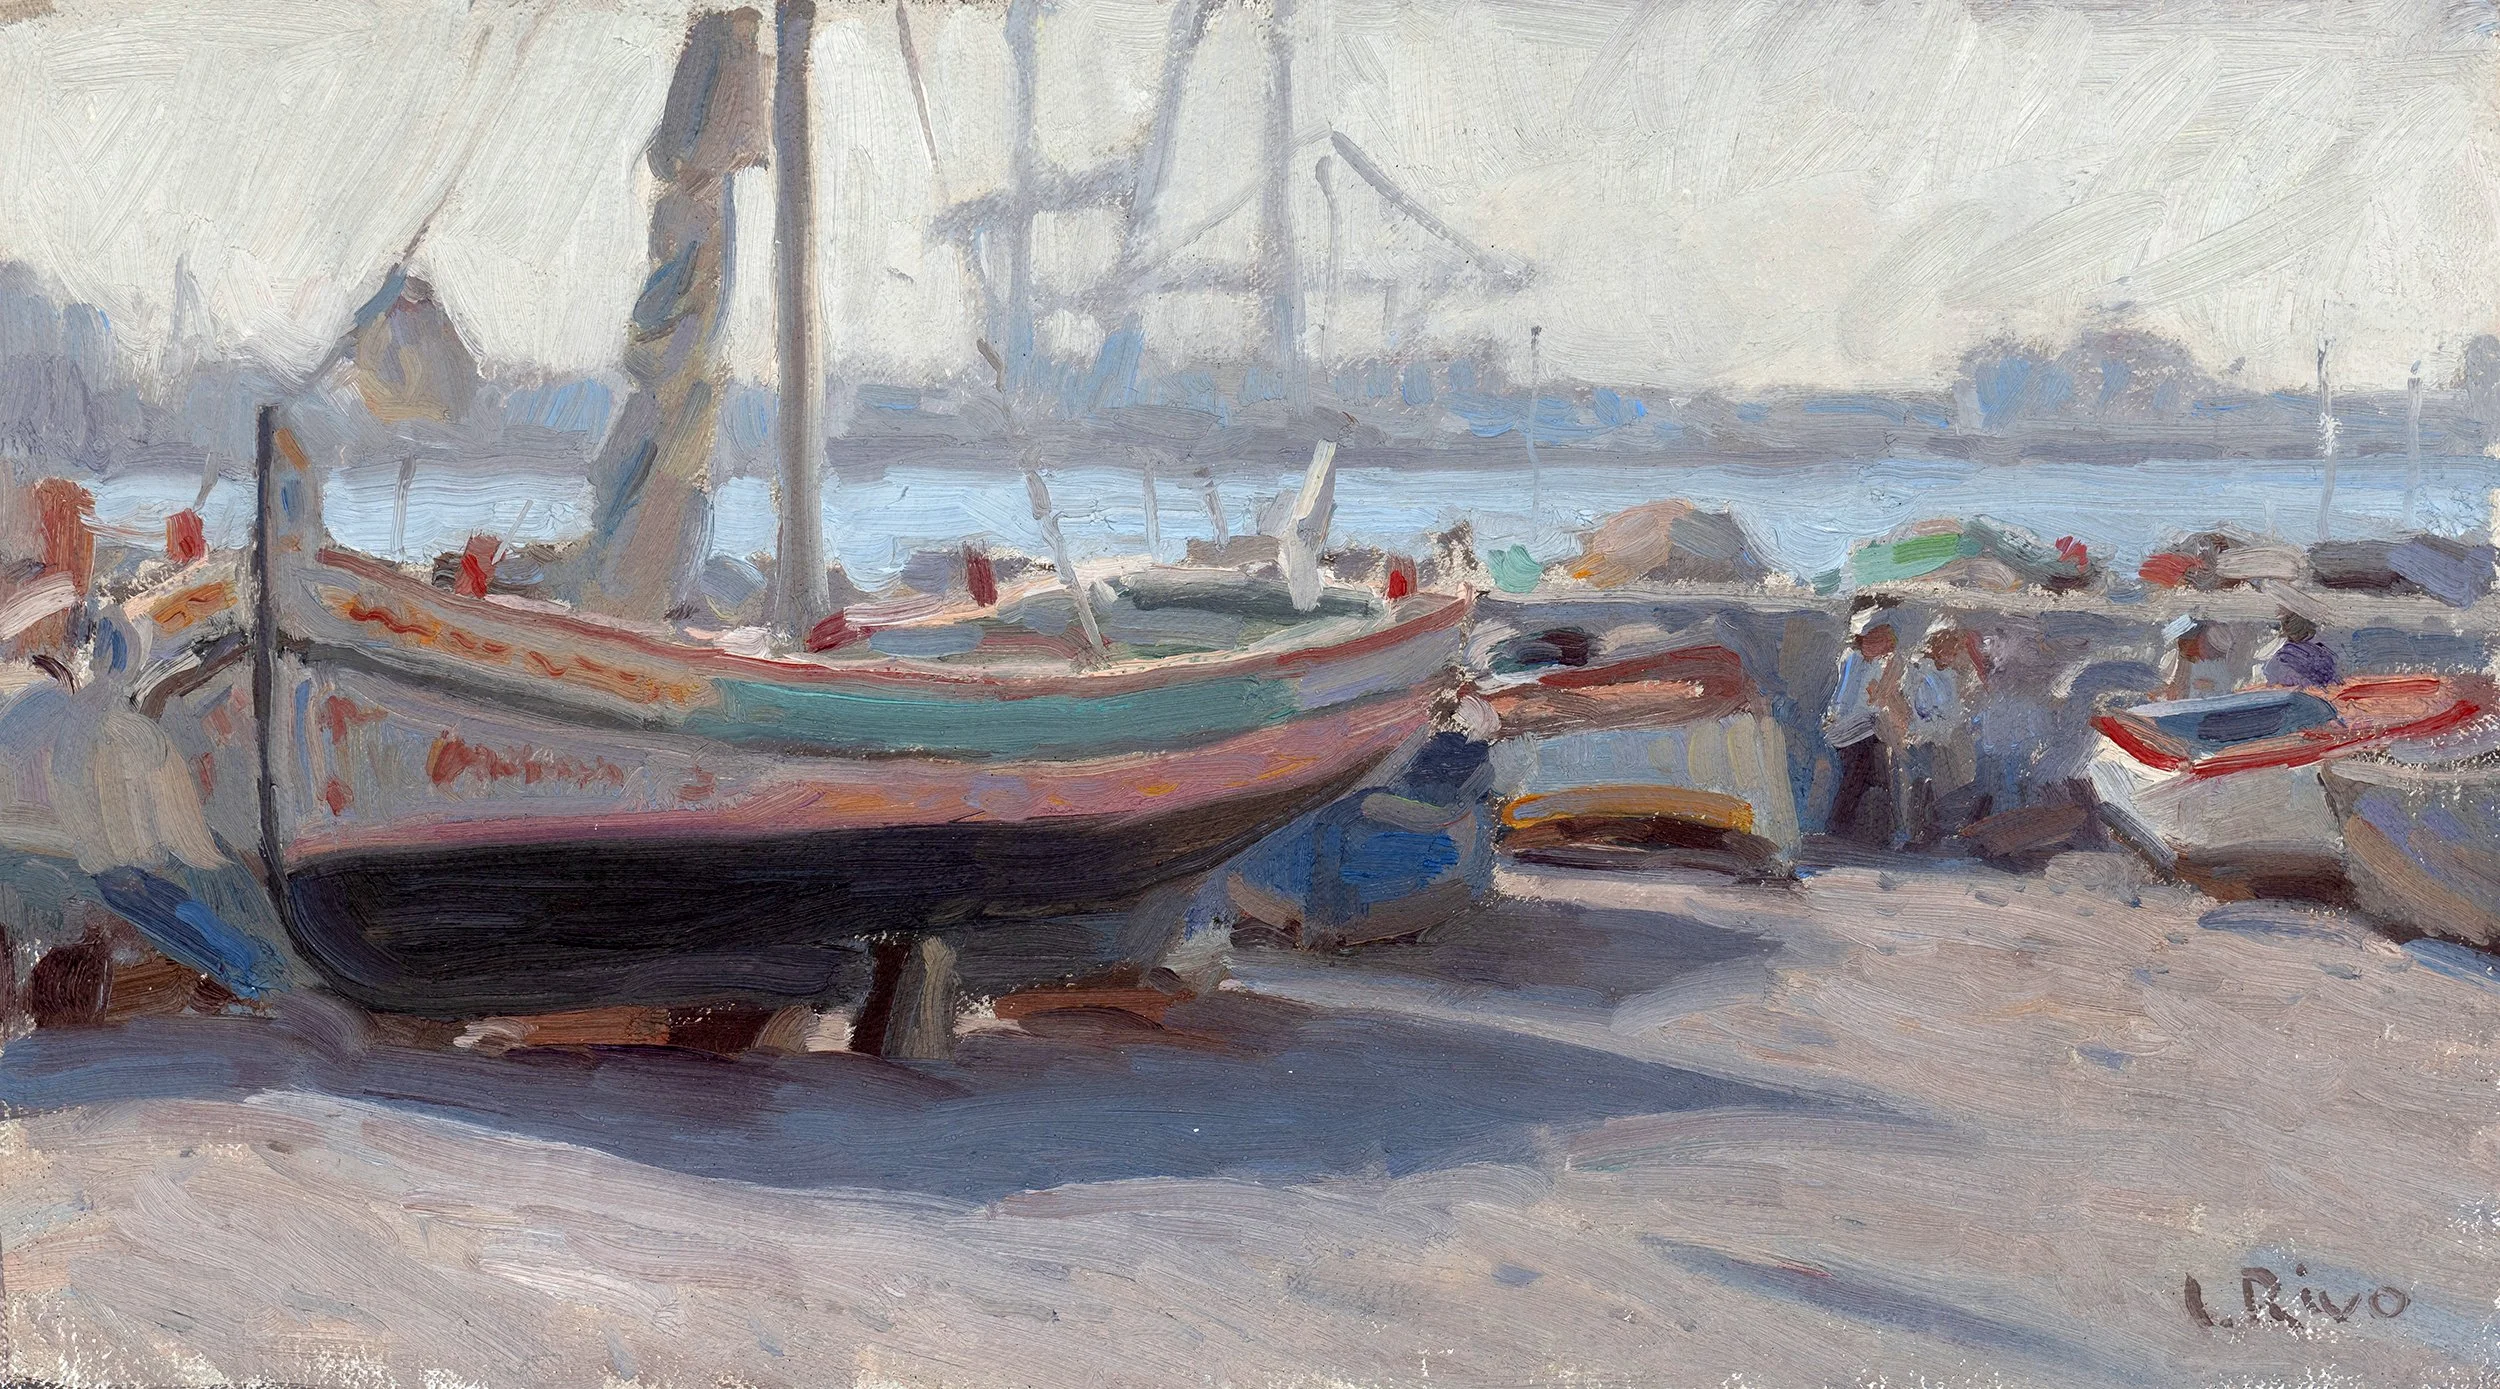
This painting technique works wonderfully for plein air painting as well. These are a few of the pieces I painted outdoors last September using my gouache-inspired approach.
Even though I use the same painting technique for studio and plein air painting, there is a slight difference between my figurative and still-life works and my landscape and seascape paintings. When I paint still lifes or figures, I aim for a slightly illustrative, clean look by minimizing visible brushstrokes. In contrast, when I paint landscapes or seascapes, I use brushstrokes to add movement, volume, and atmosphere to the work.
Let’s take this painting as an example.
As you can see, I used brushstrokes to emphasize the roundness of the clouds and trees, and I applied brushstrokes in a different direction to depict the rising mountains in the background. The blue sky at the top was painted as a flat, smooth shape without visible brushstrokes, suggesting its lack of texture and emphasizing its clarity.
In general, when painting nature with oils, I don’t simply fill shapes with color. Instead, I block them in using a series of brushstrokes, with their direction determined by the character of the subject I’m capturing.
In oil painting, brushstrokes are a powerful tool for bringing life and movement to your work. I encourage you to experiment with them and observe how they can transform your painting.
It was fun to explore the possibilities of oil painting through the perspective of a gouache painter. Along the way, I learned a few important lessons from my experiments:
1. Use High-Quality Oil Paints: To achieve a clean, solid look in oil painting, you need high-quality, highly pigmented paints. These provide opaque and vibrant colors, unlike cheaper paints, which often contain excessive oil, resulting in a translucent appearance on the canvas.
2. Find Your Lightest Light and Darkest Dark Early On: At the very beginning, establish the darkest dark shape and the lightest light. If you get these two values right, everything else will fall into place as you relate all other values to them.
3. Choose the Right Brushes: Soft brushes are essential for this technique. Hog bristle brushes, often used in oil painting, are too stiff; they leave visible marks during the initial block-ins and can disturb underlying layers when used for layering. Soft acrylic brushes, on the other hand, are gentler and spread oil paint smoothly without leaving marks. They’re also excellent for layering, but you’ll need to apply minimal pressure when painting over wet layers to avoid disturbing the surface.
4. Prepare the Canvas Properly: A slightly absorbent canvas works best—not overly absorbent, but capable of accepting oil paint effectively. When the canvas absorbs some oil paint, the color shapes look more vibrant and opaque, free of translucent brushstrokes. Golden Acrylic Gesso is an excellent ground for this purpose. You can apply several thin layers of it to any canvas, ensuring each layer dries completely before adding the next. Be cautious with very cheap canvases, as they are sometimes too absorbent. Excessively absorbent surfaces can dull and darken your colors. If you’re using an inexpensive canvas, it’s a good idea to apply a couple of layers of gesso beforehand.
5. Canvas Texture Matters: Fine-grain canvases are ideal for this style of painting. When applying oil paint in smooth, solid layers without impasto, rough textures can dominate, creating unwanted shadows on the painting’s surface. I usually use fine or extra-fine linen canvases for my oil work.
6. Limit the Use of Mediums: Mediums should be avoided or used sparingly, and only for large areas. To maintain vibrant, opaque colors, it’s best not to dilute the paint.
I would also like to mention that you don’t need to use toxic solvents when painting with oil. Even scentless solvents are harmful, despite manufacturers’ claims. When I paint with oil, I avoid solvents by following a simple process.
I usually hold a paper towel in my left hand while I paint, using it to wipe paint off my brushes when switching colors. To keep my colors clean, I use different brushes for light and dark colors. For example, if I have a dark color on my brush and need to pick up another dark color, I simply clean the brush with a paper towel and continue using it. However, if I need to pick up a light color, I switch to a separate brush, often one I’ve already used for painting other light areas. There’s no need to clean your brush in solvent after every color change.
If a thorough cleaning is necessary during a session, you can use walnut oil. I keep a small jar of walnut oil on my easel, and when I need to clean a brush, I dip it into the oil and wipe it off with a paper towel. Once I’m done painting, I close the jar and store it away.
To clean brushes after finishing a painting, I use turpentine outdoors, followed by washing the brushes with warm water and soap. However, if you want to avoid solvents entirely, you can clean your brushes in walnut oil and then wash them with soap.
It’s also important to note that some oil paints contain toxic compounds. To minimize exposure, I wear a glove on my left hand that I use to clean brushes. The hand holding the brush usually stays free of paint.
I like to use a Grey Tempered Glass Palette because it helps me judge the values of colors more accurately. I also use an Airtight Palette Container that’s the same size as the palette. After each painting session, I place the palette in the box and store it in the fridge. This prevents the oil paint from oxidizing and keeps it fresh throughout the time I’m working on the painting. I use an adjustable tablet stand as a support for my mixing palette.
I always use a wide color palette to make color mixing faster and more efficient. I prefer to paint quickly and aim to finish my oil paintings before they dry, so anything that speeds up my process is always welcome.
I use oil paints from three different brands: Michael Harding (MH), Old Holland (OH), and Mussini (M). Here’s the list of colors on my palette:
Of course, painting is entirely possible with a much more limited color palette. However, I’m used to working with a wider range of colors, so whether I’m painting with oils, gouache, or acrylics, my color palette tends to remain more or less the same.
I hope this article inspires you to pick up your brushes and experiment with your art.
Happy painting!
Lena
Download my free 30-page PDF, “Everything you Need To Know About Gouache”
In this 30-page PDF you will learn:
How to decide which colors you need when you start with gouache and how you can expand your palette to make it even more effective.
What kind of storage palettes to use with gouache to prevent your beautiful colors from fast drying.
Why you need to use two whites with gouache.
How to choose the right paper and what kinds of brushes work best with gouache.
About the setup that I like using for plein air painting with gouache.
You will also be provided with many useful tips that will make your painting experience smoother.


